Recent Articles
Popular Makes
Body Types
How to Wax Your Car Like a Pro Detailer
Carwaxing1 ・ Photo by REDPIXEL - stock.adobe.com
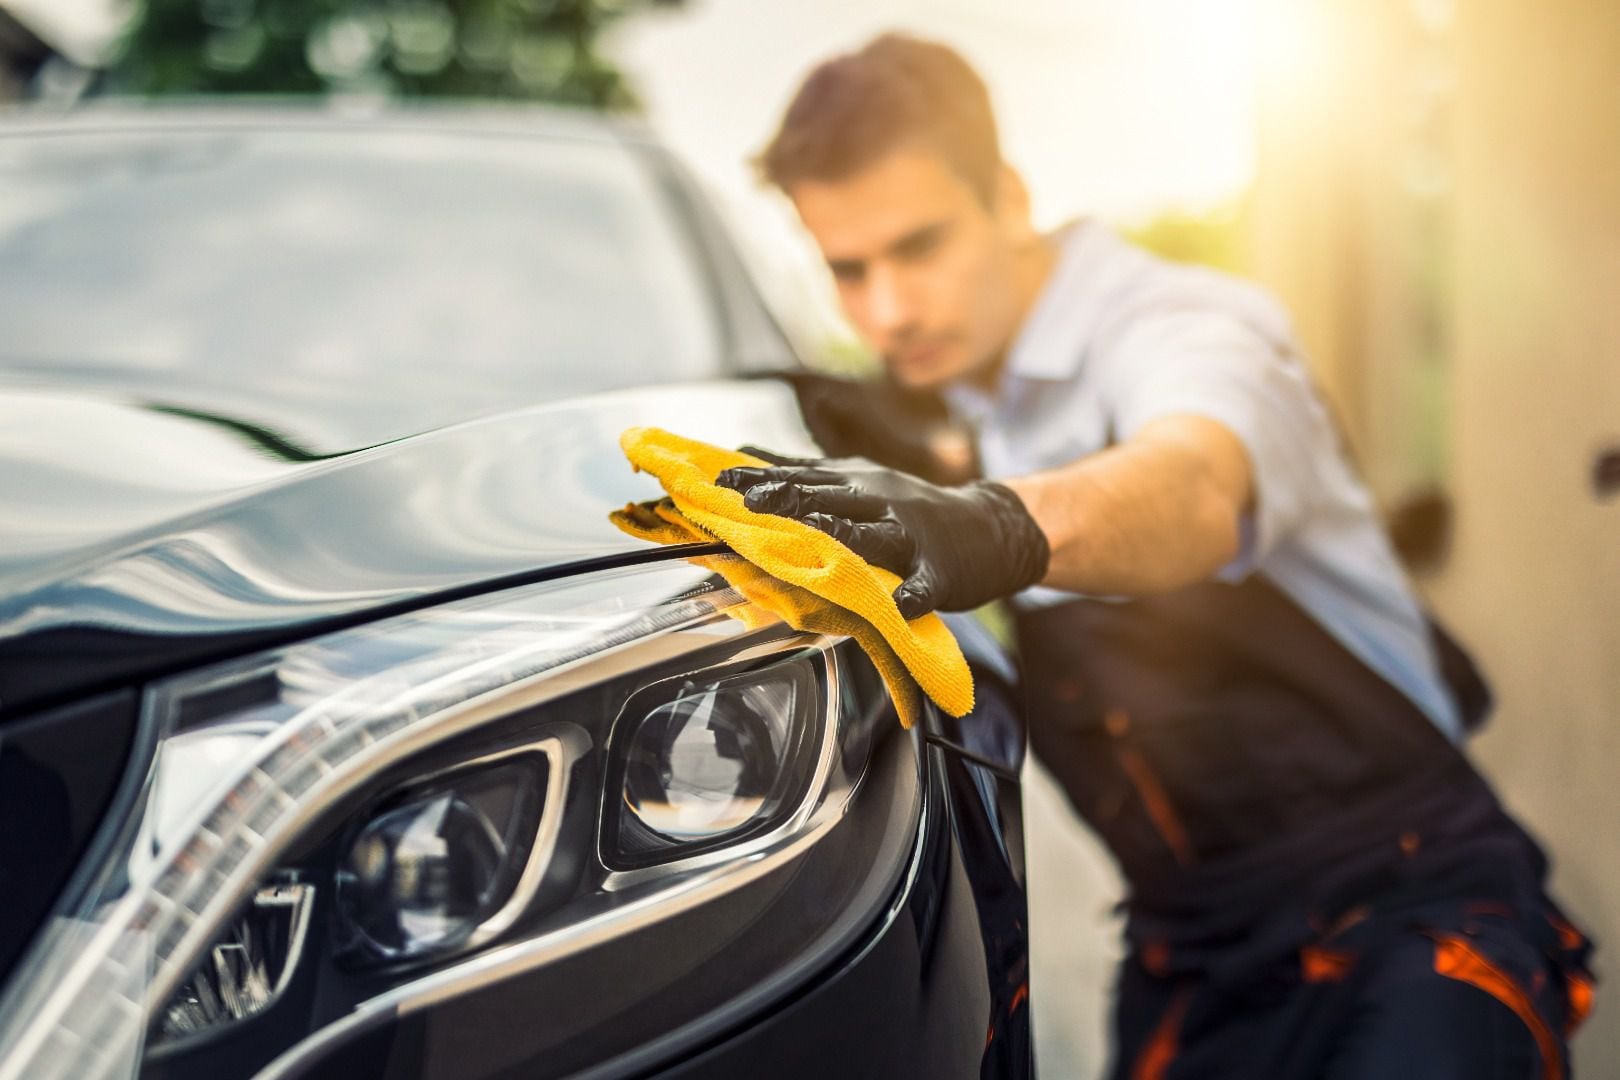
Waxing a vehicle has become rare, almost a lost art. But it's critical if you want to get the kind of shine that wins at a car show or just impresses everyone at your local Cars & Coffee event. The basics of waxing a car are easy. Anyone can learn to do it in a matter of minutes. Getting good at waxing is a different matter. Lots of practice will yield progressively better results.
The idea behind waxing is simple: By rubbing a wax compound onto the paint and then wiping it off, a very thin layer of wax remains on the painted surface. This helps repel water and dust, road grime, bird droppings, tree sap, and everything else that makes your vehicle look dull and dirty.
Get the Right Supplies
You'll need more than an old can of car wax from a garage sale, or one that you last used in 1985. (Ask me how I know.) Wax hardens as it ages, so plan on getting a new can at least every year. You'll also want some microfiber towels and a foam applicator.
The next thing to get is your wax. There are dozens of brands and varieties, and each has its own formulation. Any quality brand of wax will do, but try several and you're sure to find a favorite. For a good tip, ask your local detail shop what they use. Bear in mind that many liquid paint sealants and shine agents are not actually wax. Those do different things, so look for something with wax in it.
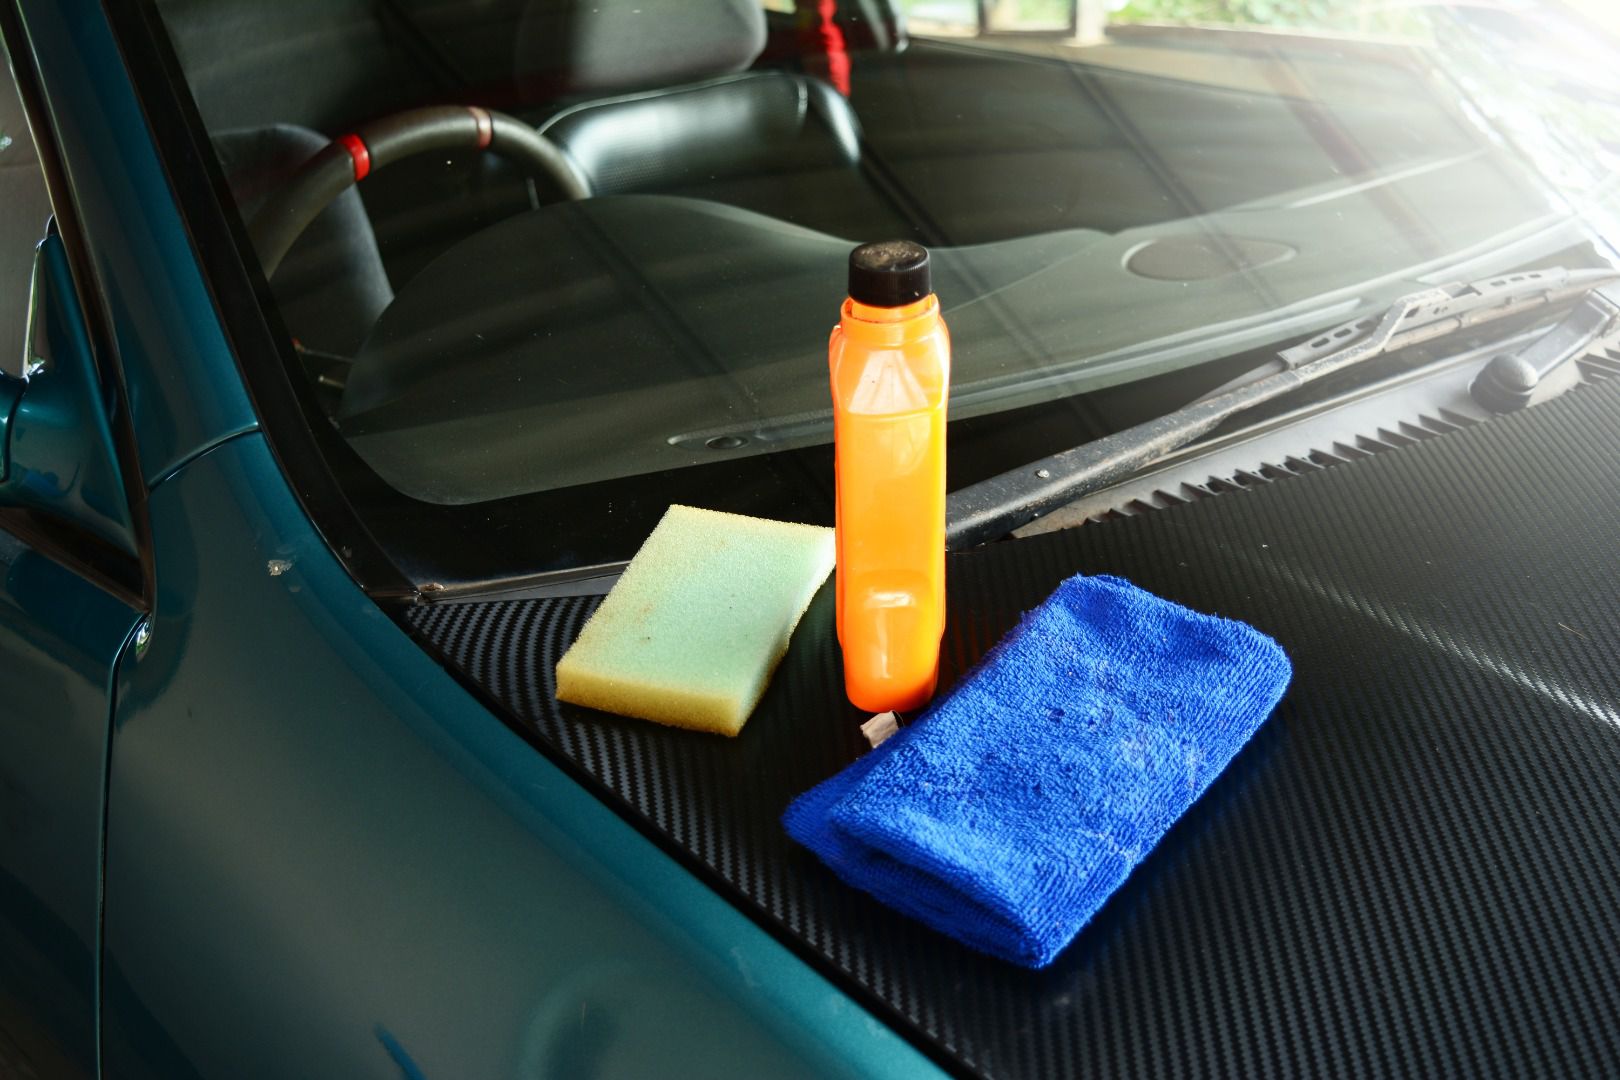
Photo by Onnada - stock.adobe.com
Start With a Thorough Cleaning
Before you can wax a car, it has to be spotless. Follow the instructions in our "How to Wash Your Car Like a Pro Detailer" article to get your car washed properly. You'll need some good car wash formulation, two buckets, a wash mitt or two, and plenty of microfiber towels to dry the car. Follow the procedure to get a complete wash. You might even decide to wash it twice if you find there are still traces of insect impacts or bird droppings on the car.
Washing the car is critically important because the waxing will scratch the paint if there are any dust particles or other impurities on the vehicle. As with many projects, the preparation for a wax job is the most important part.
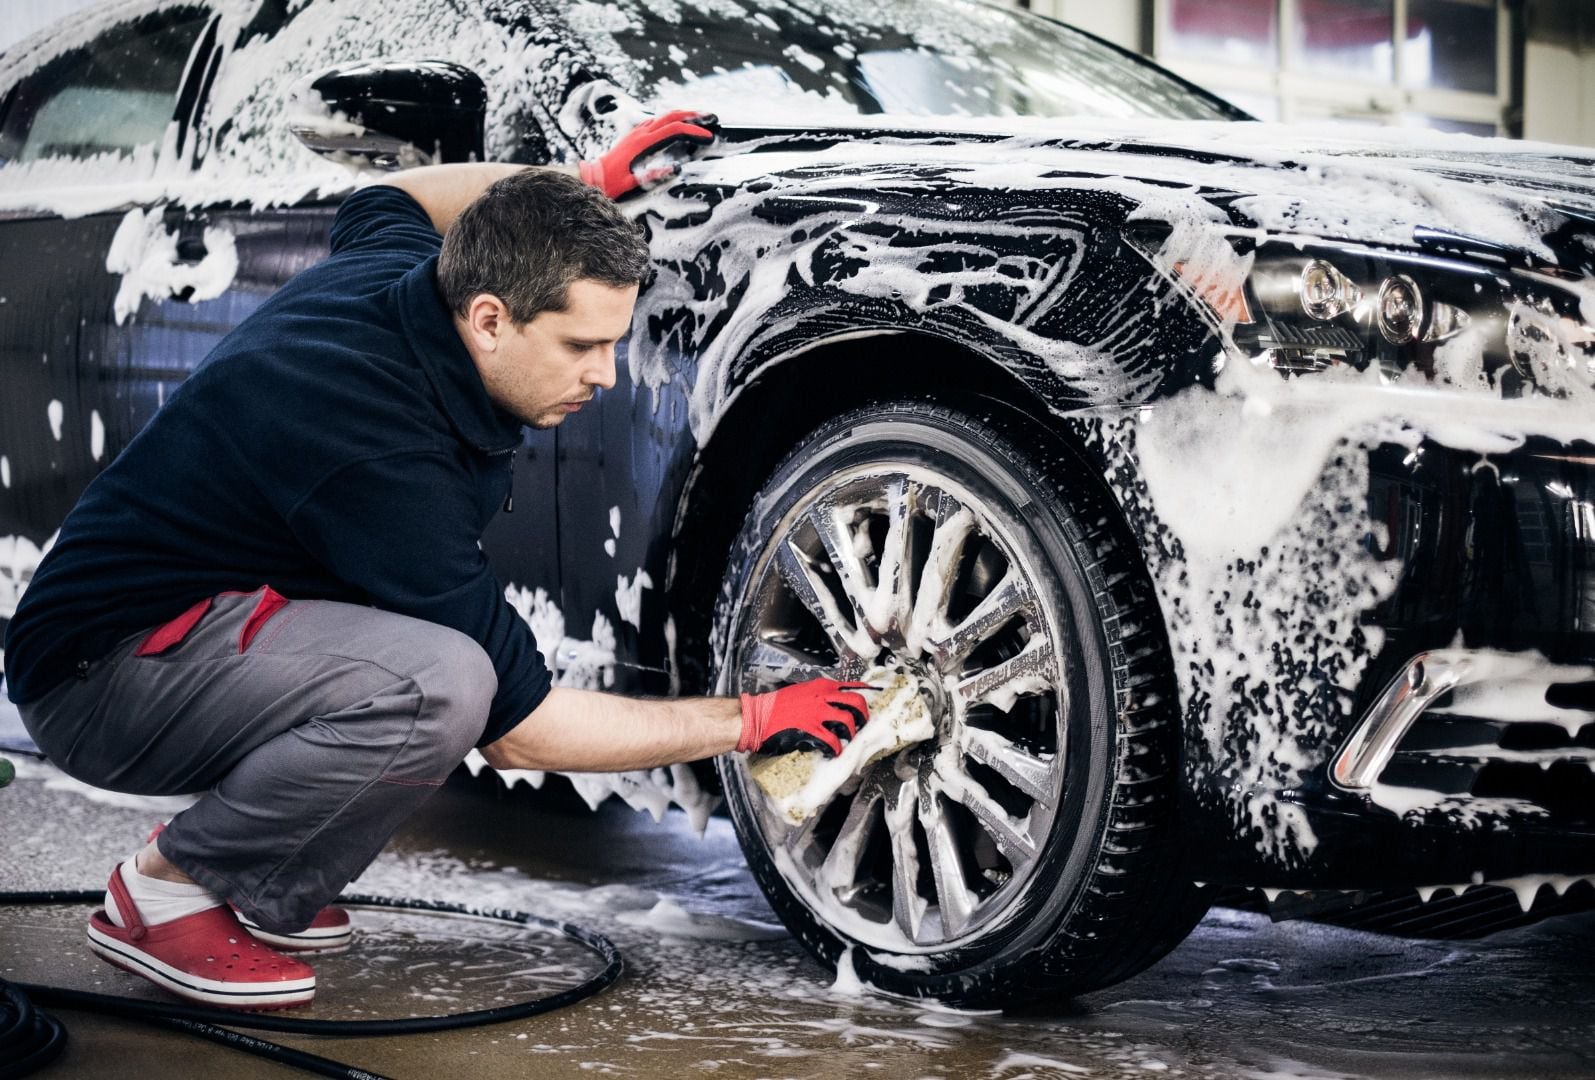
Photo by Nejron Photo - Adobe Stock
Use a Clay Bar
After washing, many detailers will use a clay bar to clean off dust that you can't see with the naked eye. Clay bar technique is subtle, but it's easy to get started. Take a piece of clay bar that's intended for automotive detailing and some silicone detail spray. Don't use any clay that's not made for automotive use! Use the detail spry to lubricate the surface and rub the paint with the clay bar.
You'll be surprised at how rough the surface feels at first. Keep at it, and see how much extra dirt the clay bar picks up. Most vehicles give up a lot of dust. Fold the clay bar to keep clean clay in contact with your vehicle's paint, and use plenty of spray to keep everything wet. When the surface feels smooth under the clay, it's clean. Then wash the car again to get rid of the silicone spray.
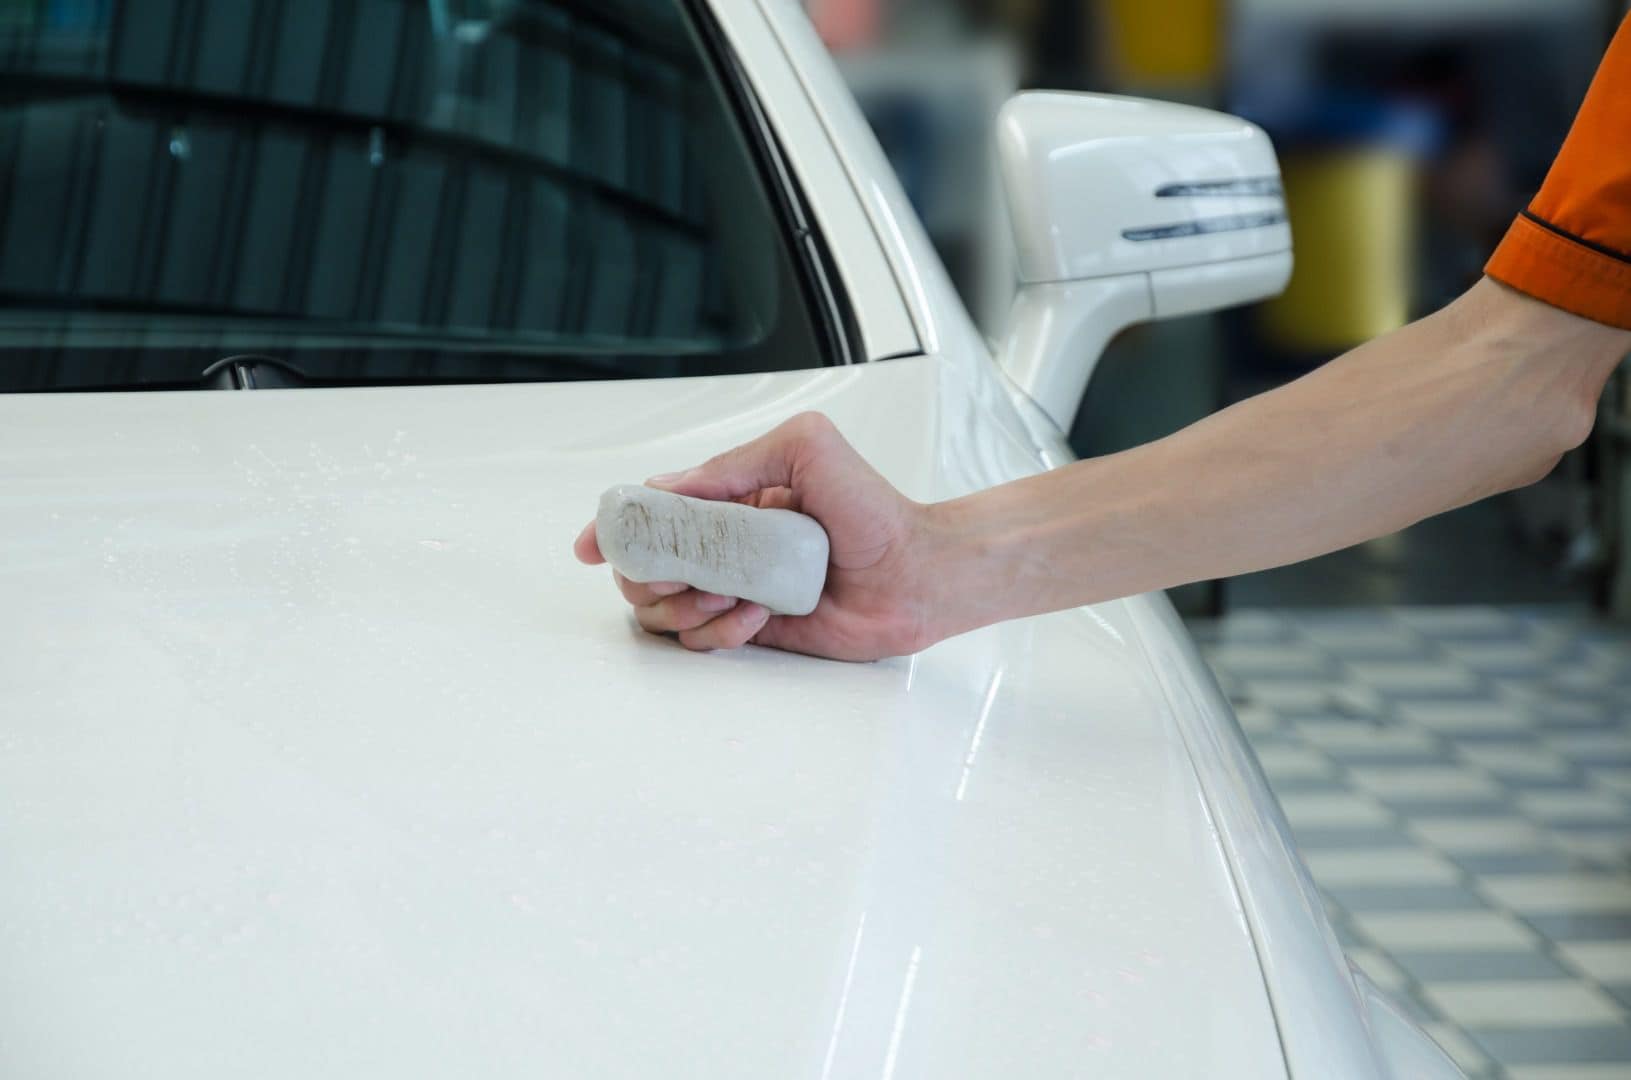
Photo by Jitchanamont - stock.adobe.com
Applying a Coat of Wax
Once the car is completely clean, you can go ahead with the waxing process. The procedure is the same for paste wax and liquid or spray wax. Paste wax takes a little longer to apply and remove, but the effects last longer than the others. If you have spray wax or liquid wax, make sure the contents are well-mixed. Put a good song (about three minutes) on your stereo and walk around your shop shaking the bottle until the song is done.
In all cases, put some wax on the applicator or a microfiber towel and gently rub it onto the painted surface, getting it on evenly. Don't use too much or try to stretch it too far. Make sure your applicator is completely clean so you don't introduce scratches on the paint. Work over the car in sections of 3 to 4 square feet, starting with each side of the roof. Then wax the hood, trunk area, or hatch. Next, work down one side from the front fenders, each door, and rear fender, and repeat on the other side of the vehicle. Finally, take care of the front and rear valances.
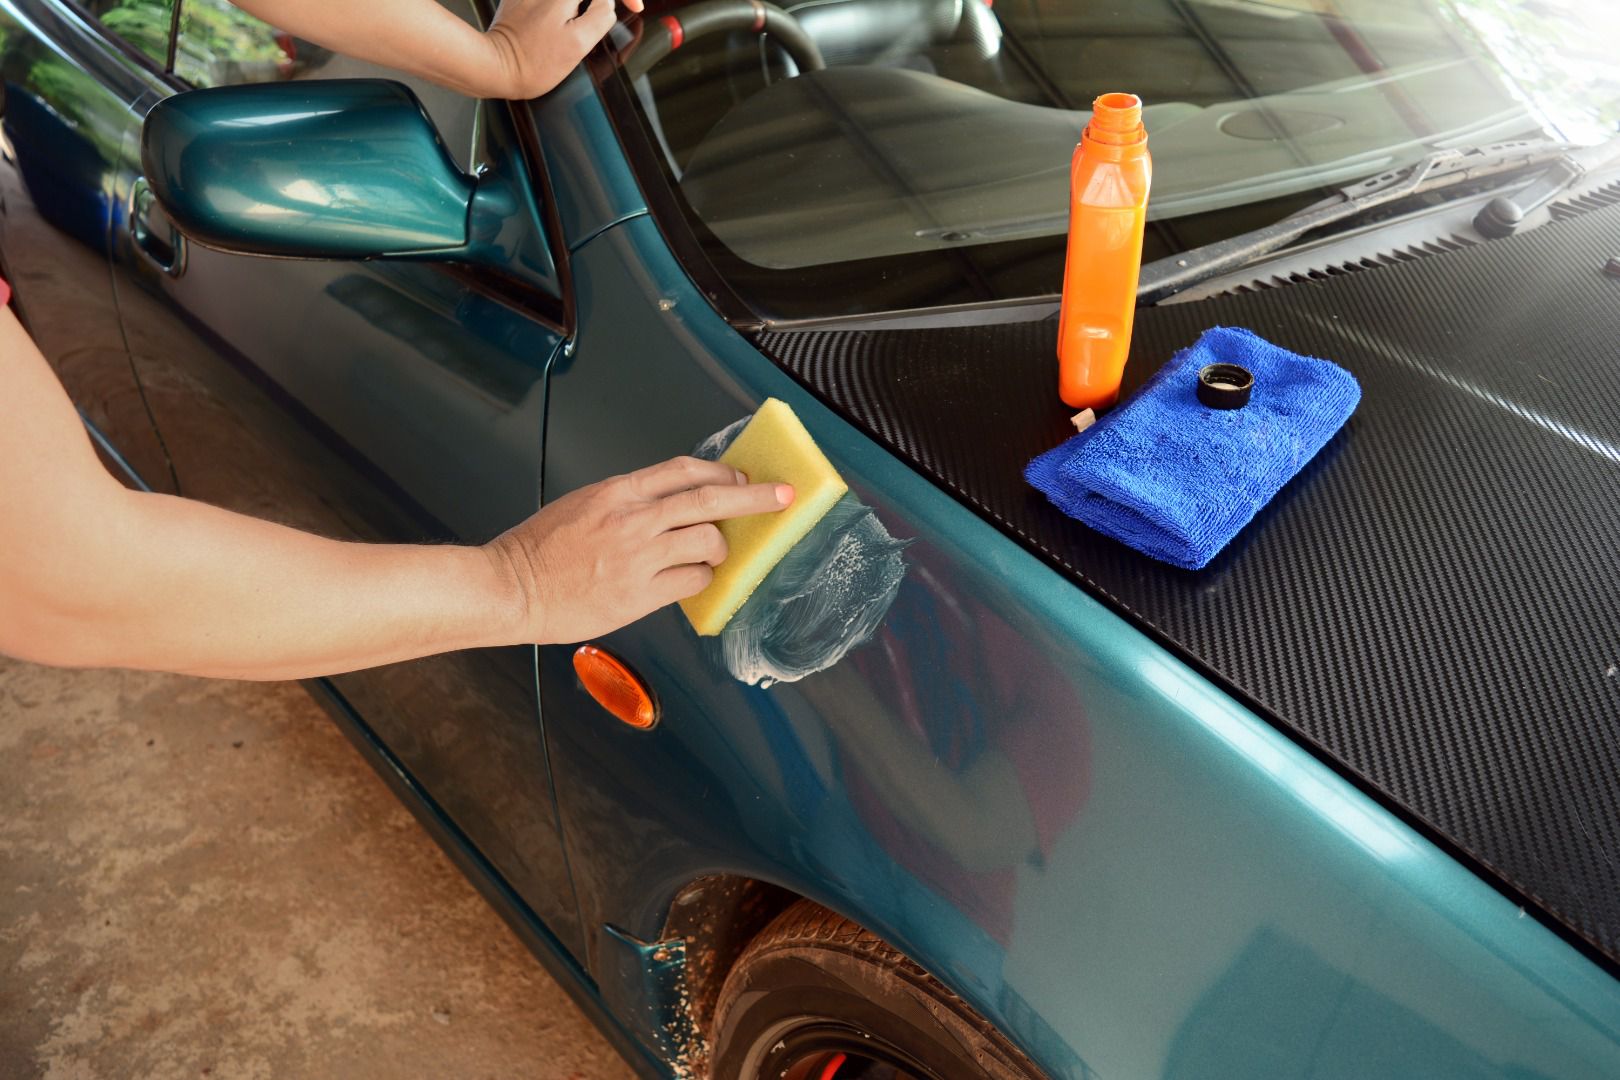
Photo by Onnada - stock.adobe.com
Wax On, Wax Off
When you have applied wax to one section, grab a clean microfiber towel and wipe it all off right away. Do not let any wax product dry in place. That's because when wax dries, it hardens and becomes very difficult to remove. Some waxes need to "haze" before removing, but this takes only minutes. Follow the instructions on the product.
As you buff the wax off, you'll notice a dramatic improvement in shine and reflectivity. Pay special attention to edges and panel gaps. You will need to raise the hood, trunk lid, or hatch, and open the doors to work around the edges and remove all the wax. If possible, have someone else inspect and check your work. When you are satisfied that you have completed one section, move on to the next. Detailers use soft brushes made from horsehair to get into panel gaps and clean out wax and dirt.
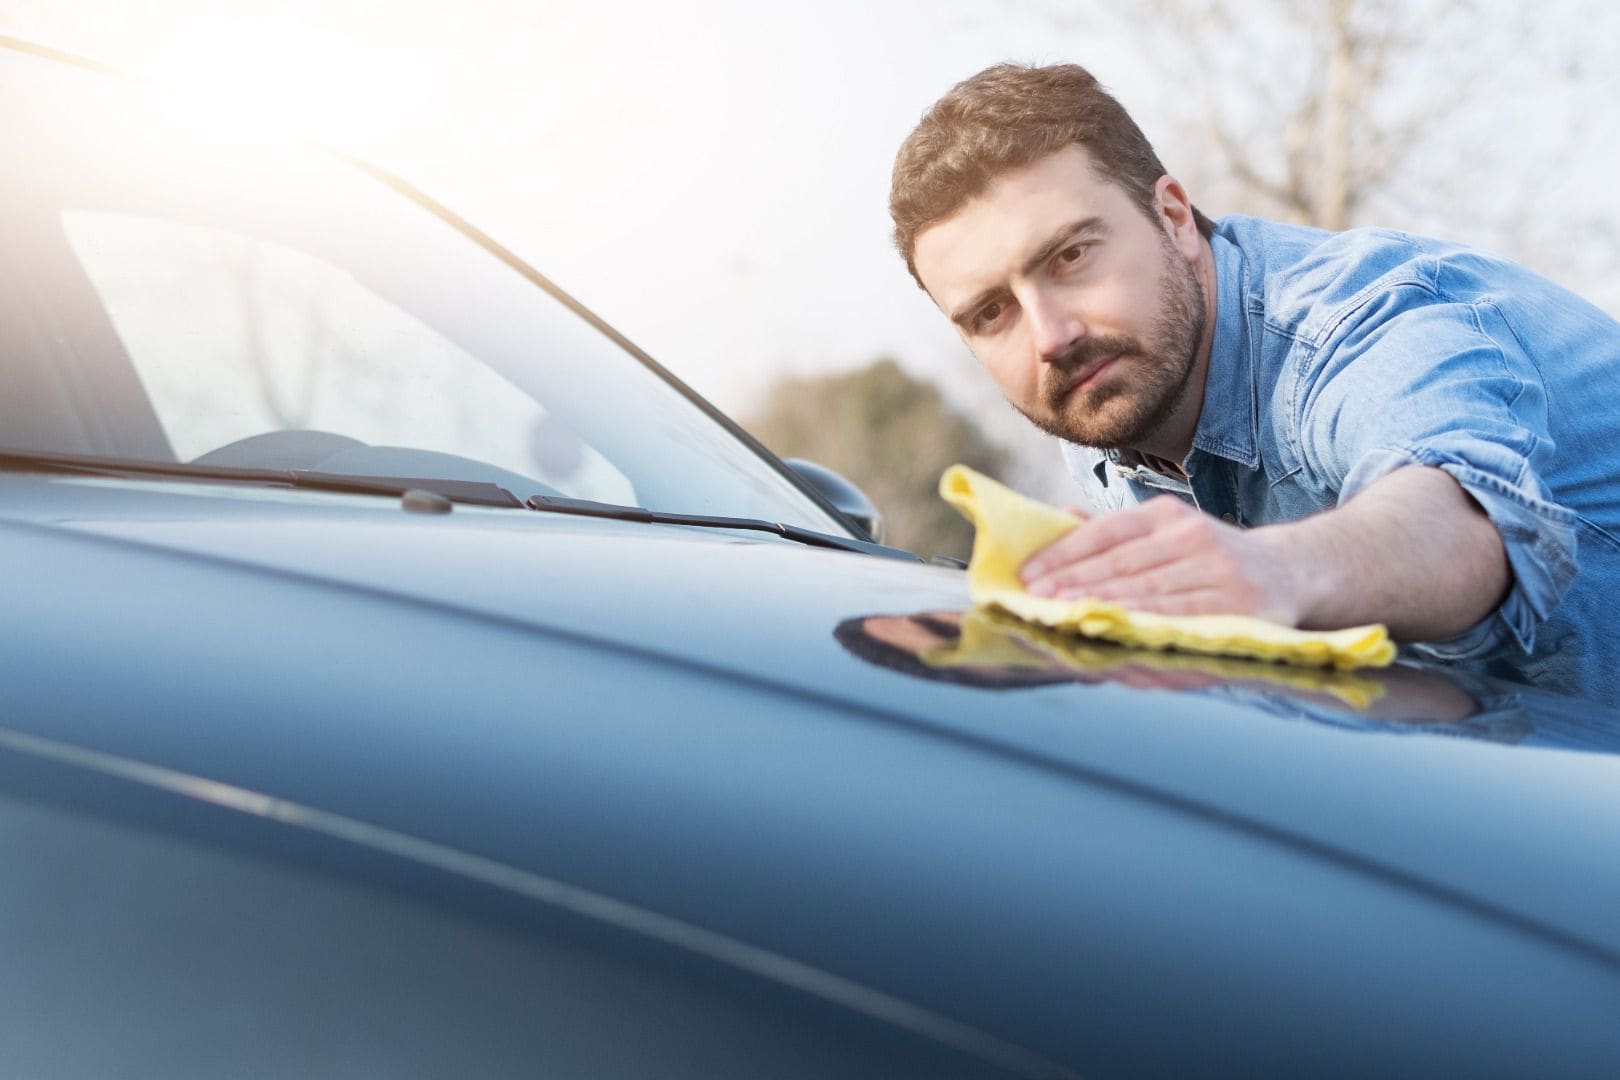
Photo by Paolese - stock.adobe.com
Should you use a machine?
Many pro detailers use an orbital polisher or buffer when they wax a car. This can yield a great shine, and is a great way to remove oxidized paint, but it's also extremely dangerous if you haven't been trained on how to use the tool. It's very easy to overdo a section, and you can actually "burn" the paint or leave swirl marks on the surface. Those are extremely hard to remove and may ruin your vehicle's paint job forever.
For these reasons, we don't recommend using any power tools without hands-on training. Besides, hand-waxing your vehicle yields great results while giving you the chance to pay more attention to your project. The extra time spent in the project is its own reward.
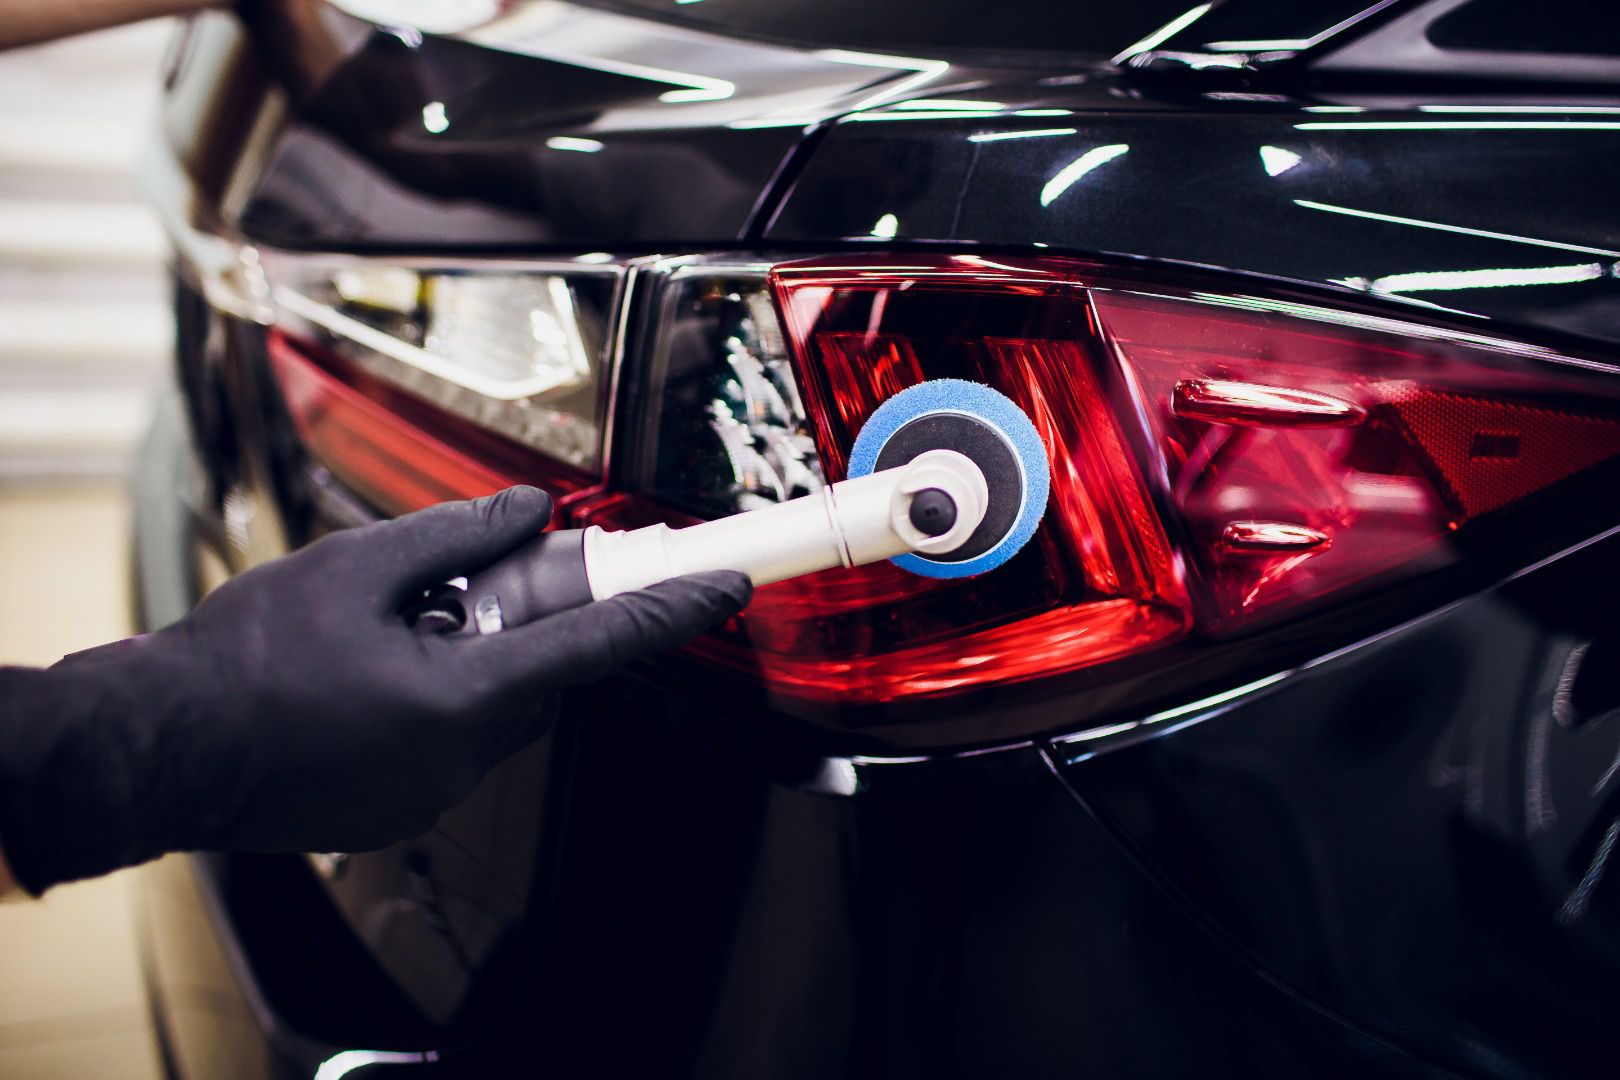
Photo by Adobe Stock
Special Cases for Black or White Cars
Black paint is the most difficult to maintain. This is because every tiny scratch reflects light and catches your eye, so it's harder to make a black paint job look good. There are special wax formulations and products with black tint in them that fill those scratches and restore a liquid shine to a black car.
Doing the wax job by hand is most important if your vehicle is black because the tiniest mistake with a power tool will damage a black paint job. If you want your black car to look its best, plan on doing the work by hand. Meanwhile, although white cars don't show scratches as easily as black cars, white paint has its own challenges. There are special waxes and cleaners for white cars just as there are for black ones. If you want to keep a white car looking new, you'll want to get those products.
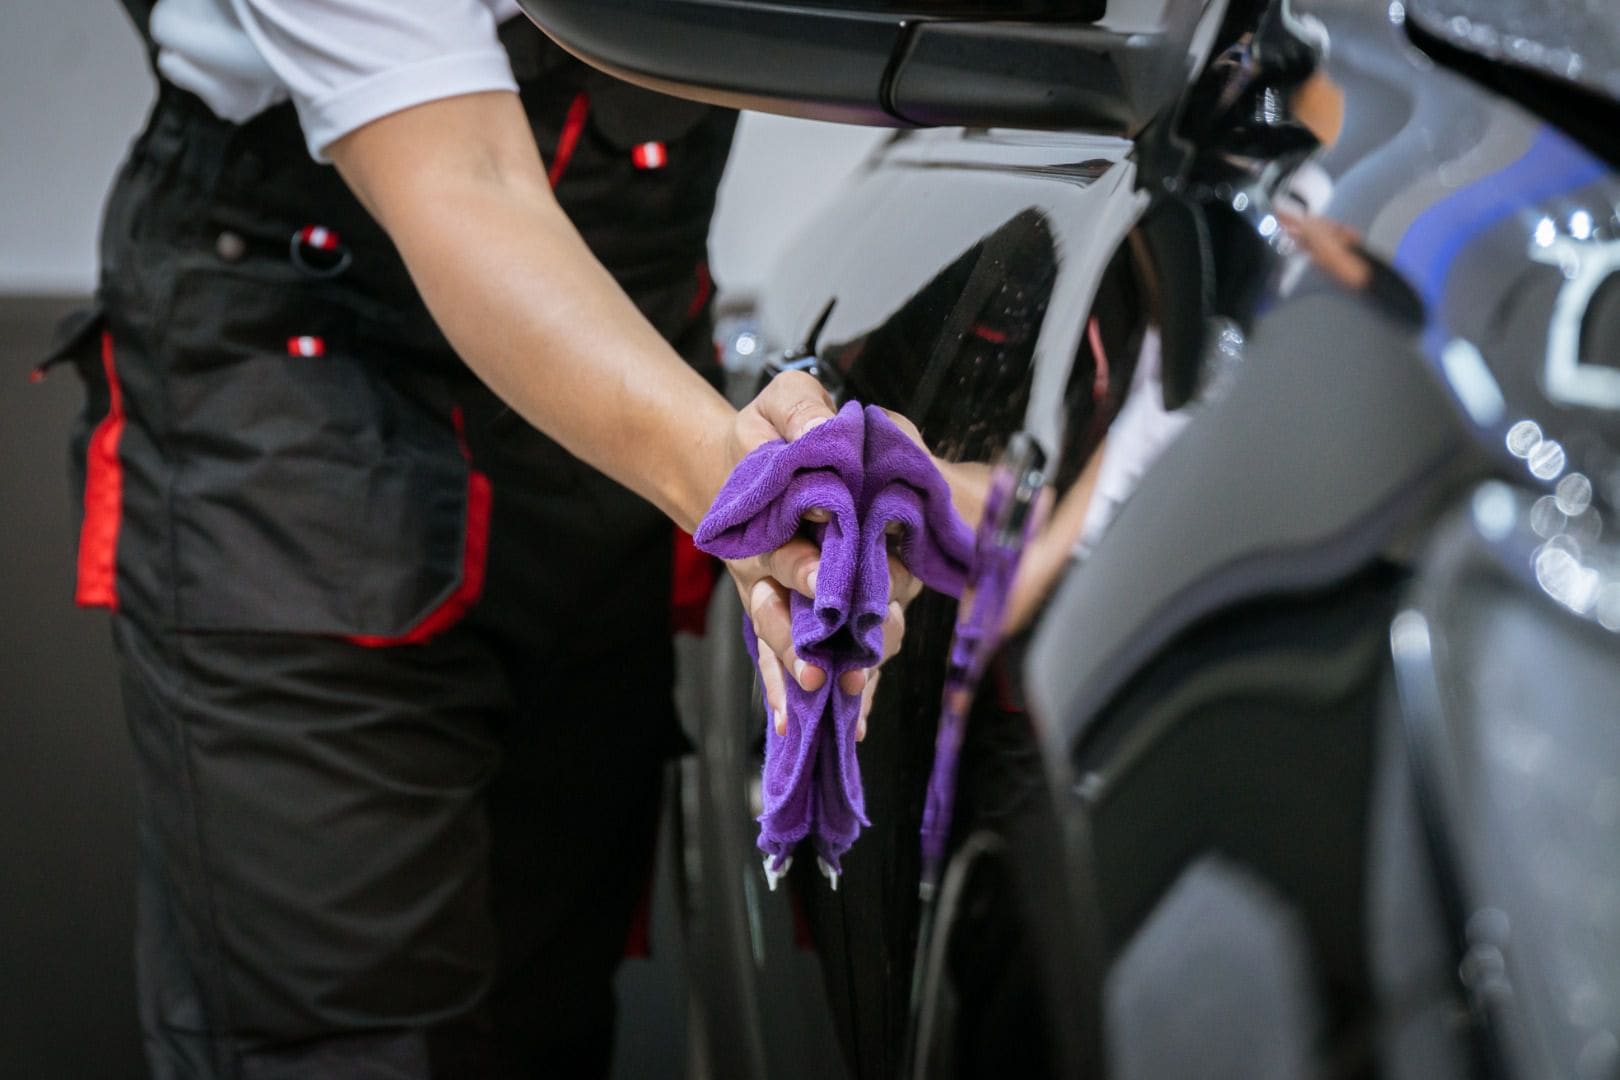
Photo by Littlekop - stock.adobe.com
Getting Wax Off Trim Pieces
Plastic trim pieces pose a special challenge. They often have a rough surface, full of tiny crevices. Paste wax in particular gets into those crevices and dries, turning white in the process. The trim ends up looking like it's sun-faded and cloudy, and it's very difficult to remove the wax.
The best thing is to make sure you never get wax on those trim pieces. But if you make a mistake, or you need to fix someone else's wax mistake, you can get special trim restoring fluid that will remove the wax. Use low-tack or delicate surface masking tape to protect trim from wax. Be sure to remove the tape as soon as you're done waxing that section of the car!

Photo by BB Art Photo
Recap: How to Wax Your Car Like a Pro Detailer
Waxing your car is a great way to spend some time focused on a fun and rewarding task. Once you get the hang of it, you might find yourself waxing cars for your friends and family, too. To recap, remember these steps:
- Completely clean and dry the vehicle before you begin
- Get the right products, and don't use old wax
- Apply the wax in small areas, following the directions on the package
- Remove the wax before it hardens, using a microfiber towel
- Don't use a power tool without training
- Keep wax off of plastic trim pieces
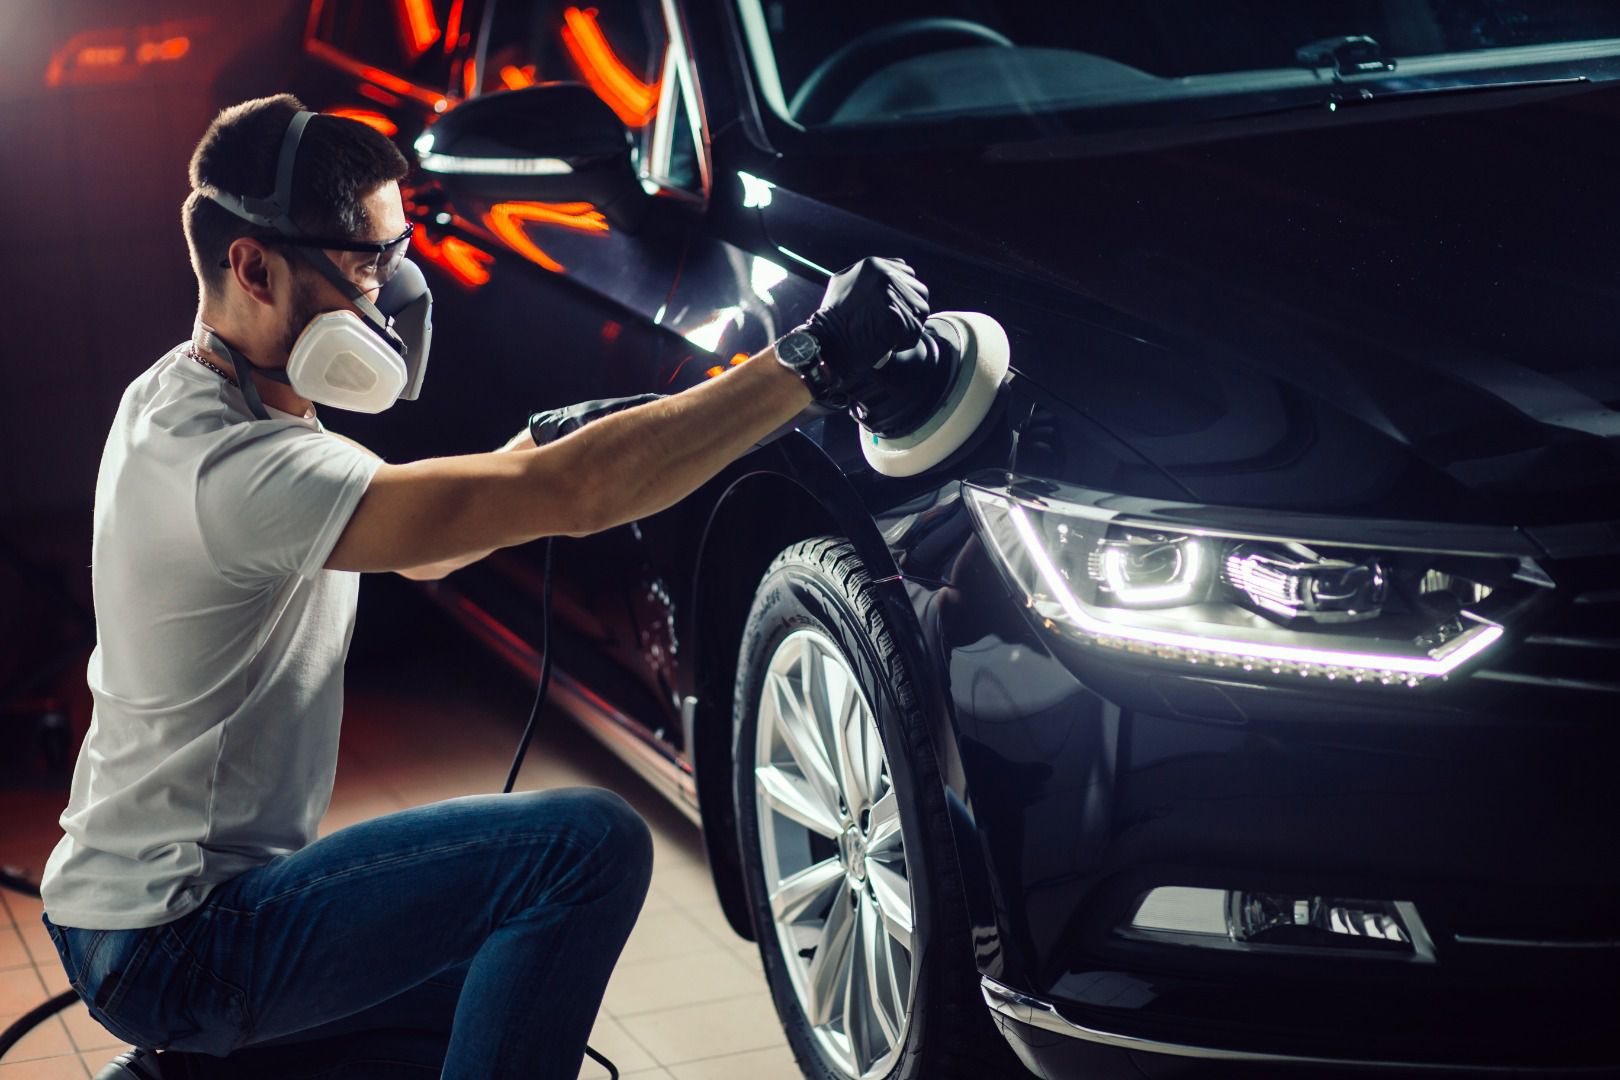
Photo by Alfa27 - stock.adobe.com