Recent Articles
Popular Makes
Body Types
How To Wax A Car

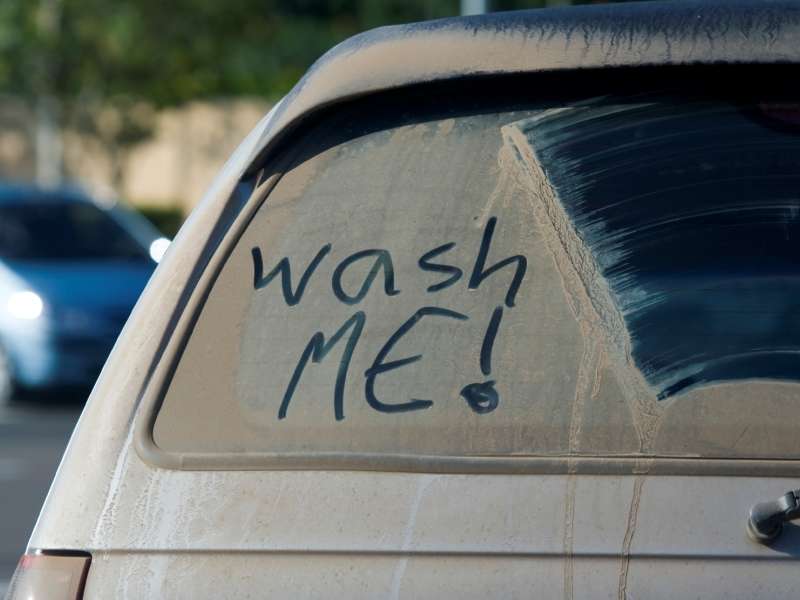
When it comes to waxing a car there are a couple of important things to know. The first is to make sure that you start with a freshly cleaned, but also dry car. If your car isn't spic 'n span any dirt will be rubbed into the paint, leaving scratches. You should also avoid working in direct sunlight as wax can stick to a hot car, making it harder to remove and possibly damaging the paint.
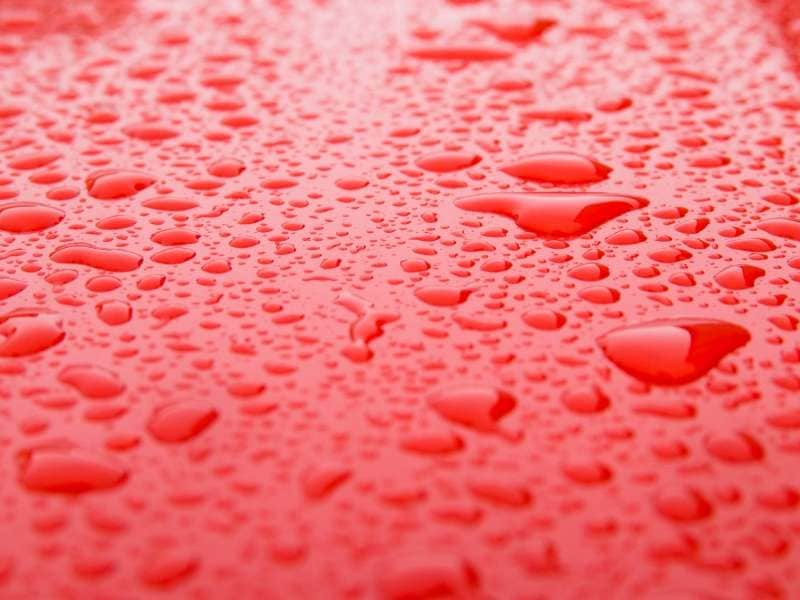
The second is to choose the right wax. If your paint is still in good shape, it's best to go for a straight wax that doesn't contain any cleaners or polishes. Using a straight wax you can wax your car as often as you like with little risk of damage. If your paint has light scratches a wax with a cleaner or polish might be worth a try, but they should only be used when needed, and no more than a few times a year. Using a liquid (typically polymer based) or a paste (usually carnauba based) is largely a matter of preference. Generally liquid waxes are easier to apply, while paste waxes sometimes provide a better finish.
The wax you purchase should come with directions explaining how to wax a car. Normally this involves dividing the car into sections, putting a tiny amount of wax on a damp foam applicator and rubbing a thin layer into the paint with short strokes. Applying more will only waste wax and make buffing more difficult. Some waxes should be removed before they dry, while most should be allowed to dry before they are removed (this should be specified on the package). Remove the wax by buffing it from the surface using a clean dry chamois or microfiber cloth. When you have completed one section, move on to the next one.
Once the entire car has been waxed and buffed, inspect the car for any streaks. Streaks can be caused by waxing a dirty car, using an unclean applicator, or waxing panels that are too hot. The easiest way to remove streaks is by lightly spraying the area with a car detailing spray and buffing the area until they disappear for good.
