Recent Articles
Popular Makes
Body Types
How to Clear Up Foggy Headlight Covers
Audi Matrix OLED lights ・ Photo by Audi
One problem that comes up for almost all middle-aged cars is foggy headlight covers. Over time, ultraviolet light from the sun and the general weathering effect of wind, rain, and dust from the road combine to degrade the plastic covers that protect most modern vehicle headlights. When that happens, less light can get through and the headlights begin to appear dim.
What happens is that the plastic becomes scuffed by the constant wind and dirt, making the surface less transparent. Then the UV radiation makes the degraded plastic appear cloudy. Old headlight covers may even take on a yellow color in extreme cases. Fortunately, there are several easy ways to eliminate the cloudiness and restore the covers. You just have to polish out the micro-scratches and remove the layer of oxidized and UV-degraded plastic on the surface of the headlight cover. Here's how you do that.
Using Commercial Headlight Cover Kits
You can buy a headlight restoration kit at any auto parts store. Prices generally range from $15 to $25 for a complete kit, including the applicator sponges. Or you can buy headlight restorer cream in a bottle for about $10. All of the commercially sold kits work well and will return your headlight covers to clear condition.
The procedure is always going to be about the same, regardless of which kit you buy. First, you should clean your headlight covers as part of a general car wash and detailing project. Once all the surface dirt has been removed, you can see how much of the lens clouding is in the plastic itself. At this point, you scrub and polish the lenses with the supplies provided in the kit. When you're done, wash the lenses again, and they'll be back to as-new condition. Some kits also provide a coating layer that you can rub in to protect the lenses against future oxidation and UV damage.
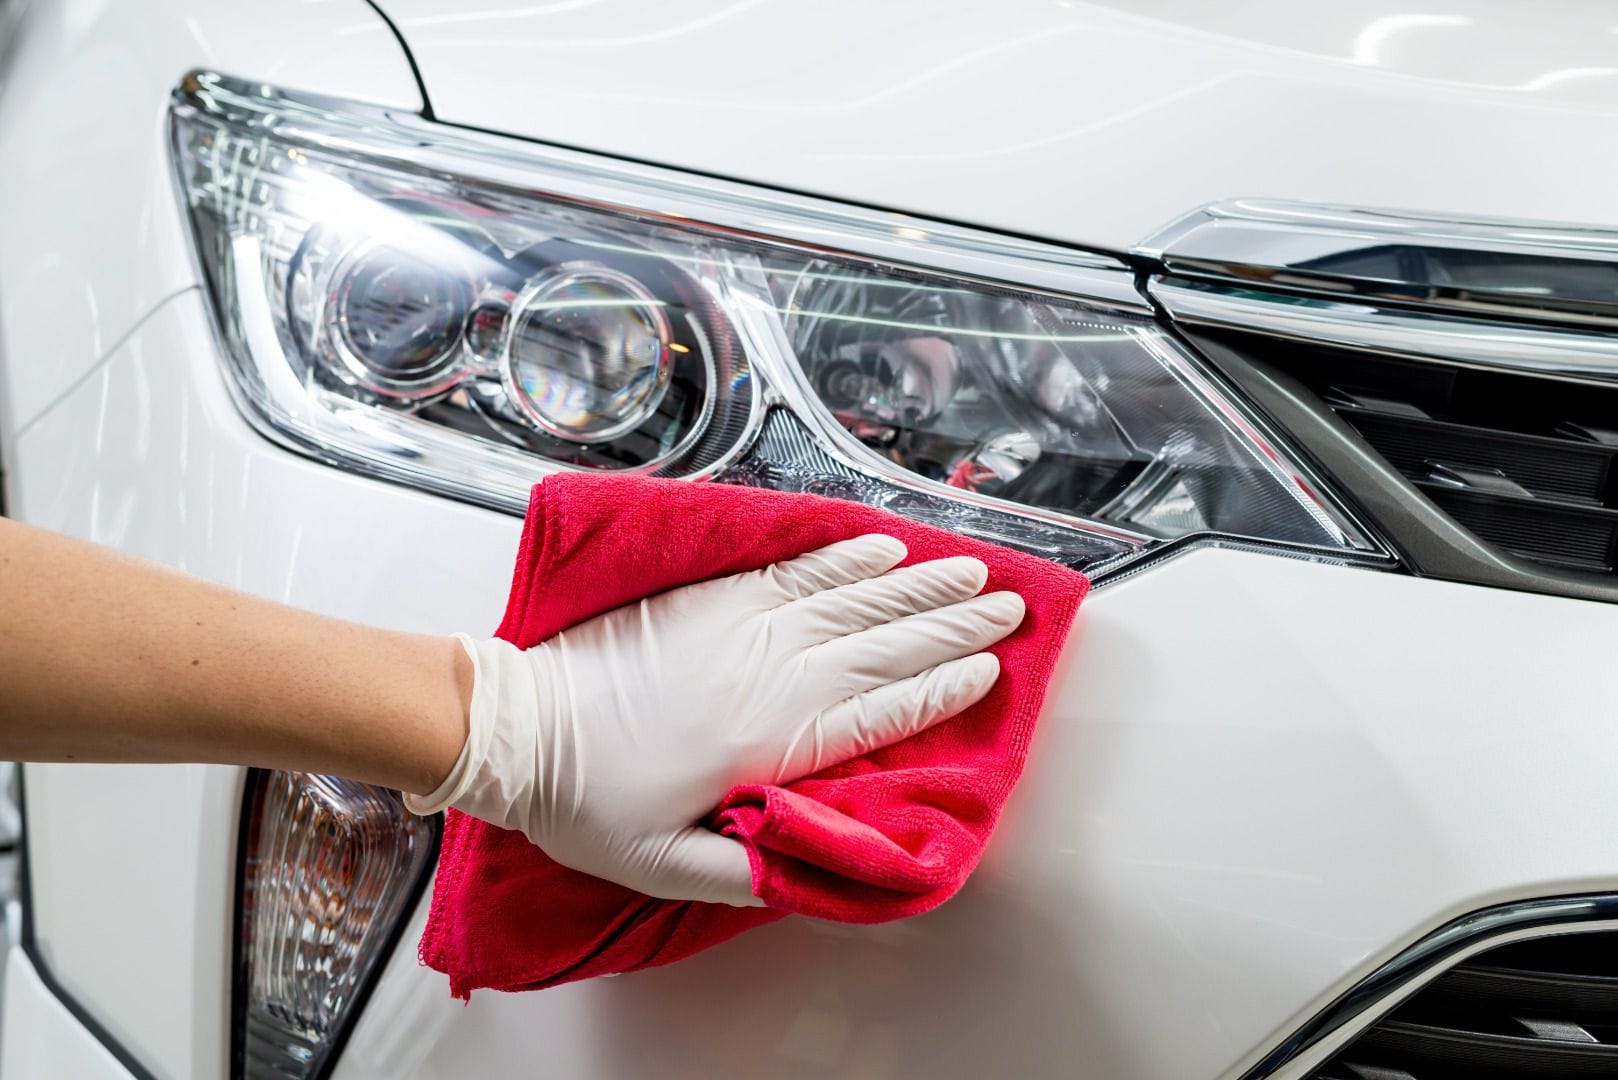
Photo by Adobe Stock
Using Household Cleaning Products for Headlight Cover Restoration
If you want to save some money, you don't really need a store-bought headlight restoration kit. The creams and pastes that clean the old plastic off the surface are mild abrasives, and most people will have comparable products around the house. For example, a mixture of standard toothpaste and baking soda rubbed on the headlight covers with a wet rag works well, or you can use ordinary kitchen scouring powder for good results.
To use household cleaning products, first wet down the headlight covers with window cleaner or just plain water. Put the baking soda and toothpaste mixture or a little scouring powder on a damp rag and rub it all over the headlight cover. You don't have to press down hard, but rather just keep the material moving and keep applying the window cleaner or water to keep the surface wet. Plan to spend about three to five minutes on each headlight cover. When you're done, just wash off the cleanser and examine your results. If the covers need more work, just keep working the polish in until you have the results you want.
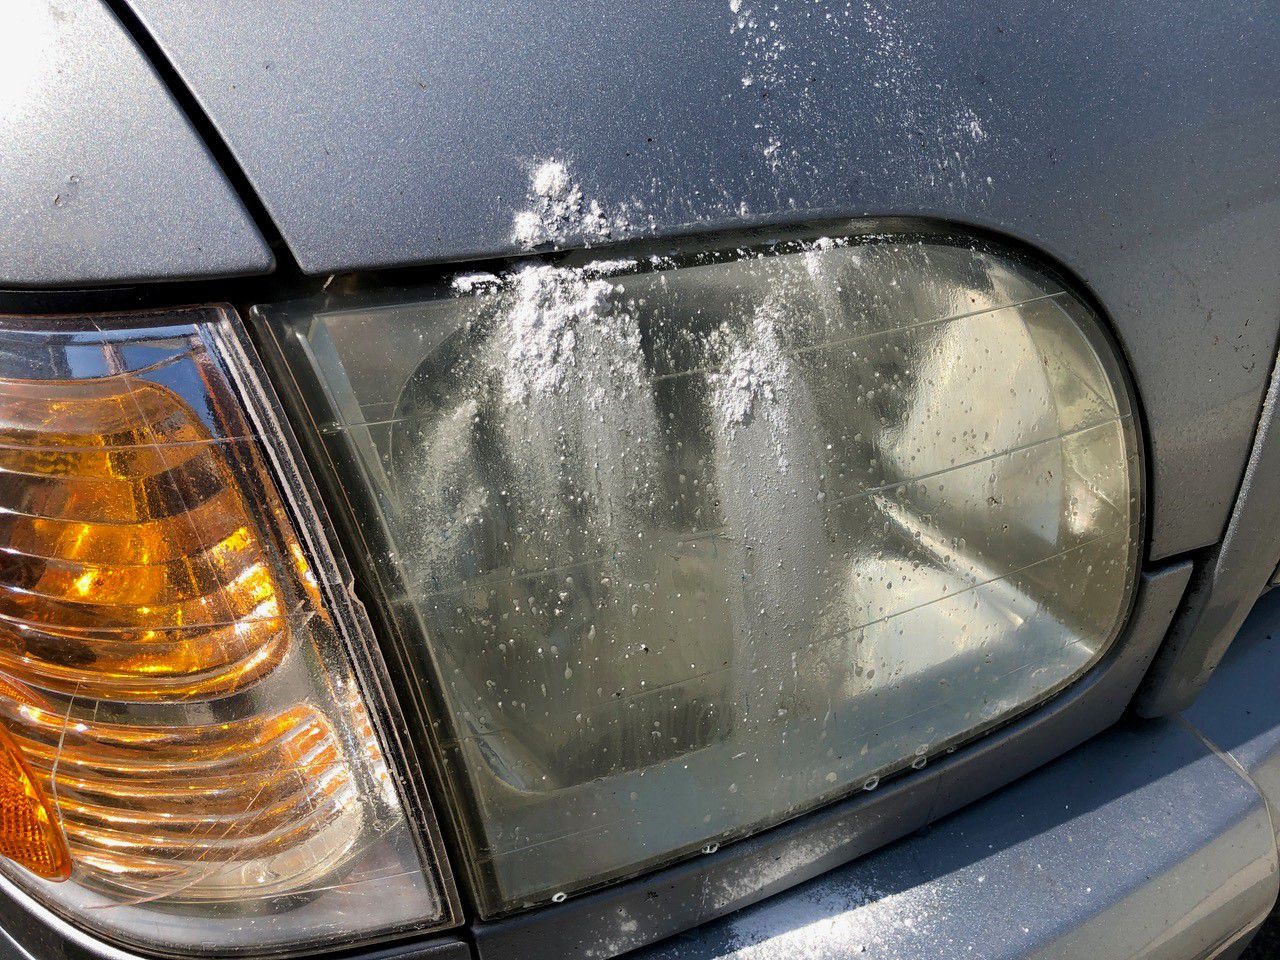
Photo by Jeff Zurschmeide
Limitations of Headlight Cover Restoration
When you have polished your headlight covers, they should appear clear and clean, and they will stay clear for several months. However, they will turn cloudy again within a year or so. This is unavoidable, although the results will last longer if you chose a commercial kit with a protectant coating. In general, the same wind, rain, and dirt that wore down your headlight covers before will continue to cause damage, so you should expect to clean up your headlight covers about once per year, on average. Vehicles that are always garaged will see their results last longer because of limited UV exposure. If you have a standard springtime or winter maintenance program for your vehicle, it's a good idea to add headlight polishing to your task list.
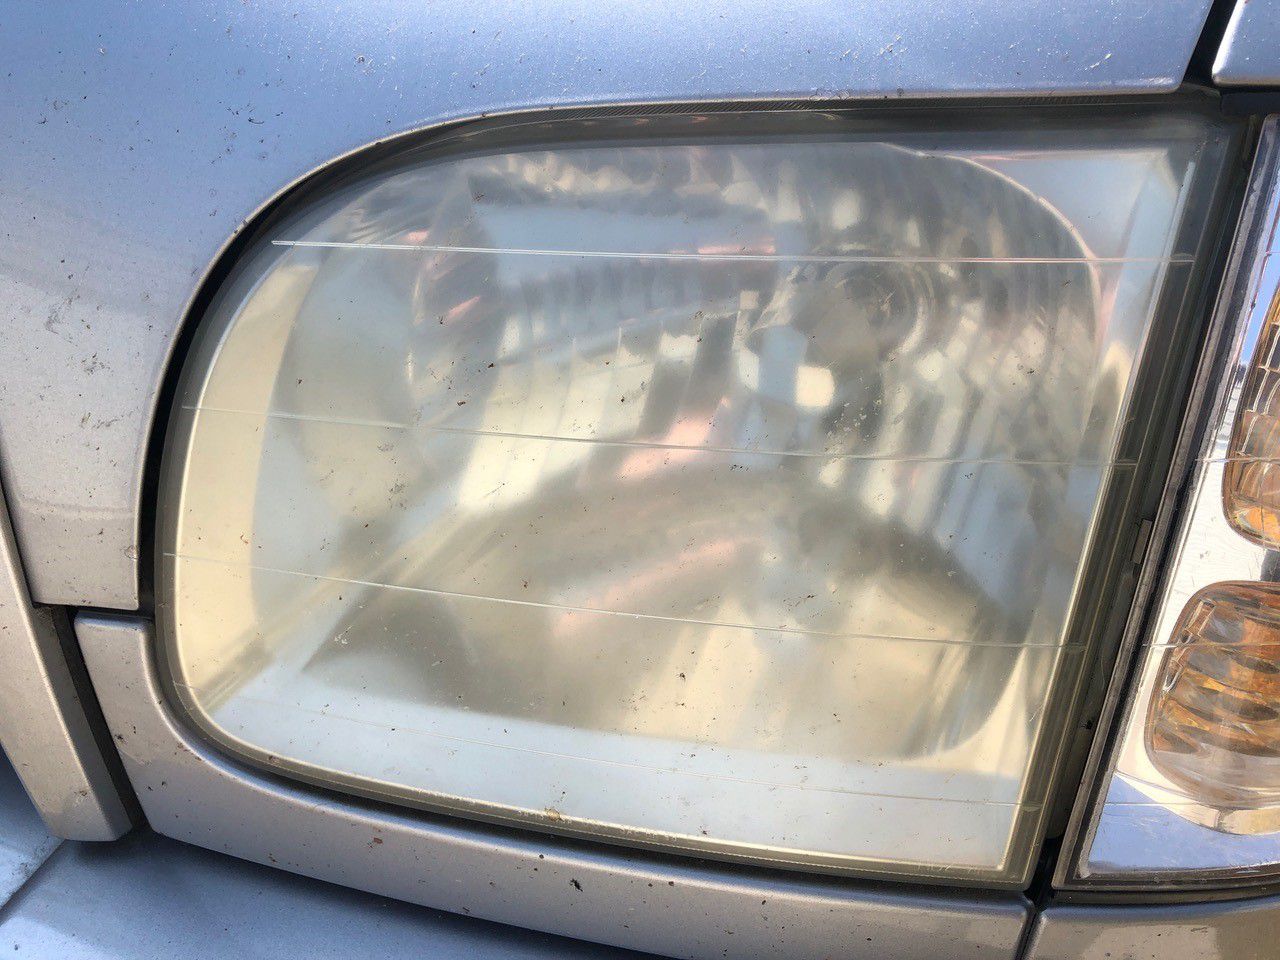
Photo by Jeff Zurschmeide
Recap: How to Clear up Foggy Headlight Covers
Here's what you need to remember about cleaning up your foggy headlight covers:
- Foggy headlight covers are caused by UV light, wind, and weather
- Commercial headlight restoration kits cost $15 to $25
- You can use household cleaners to save some money
- Use window cleaner to lubricate while you polish
- Spend about three to five minutes on each headlight cover
- Thoroughly wash the headlight covers when you're done
- Plan to make headlight restoration part of your annual maintenance program
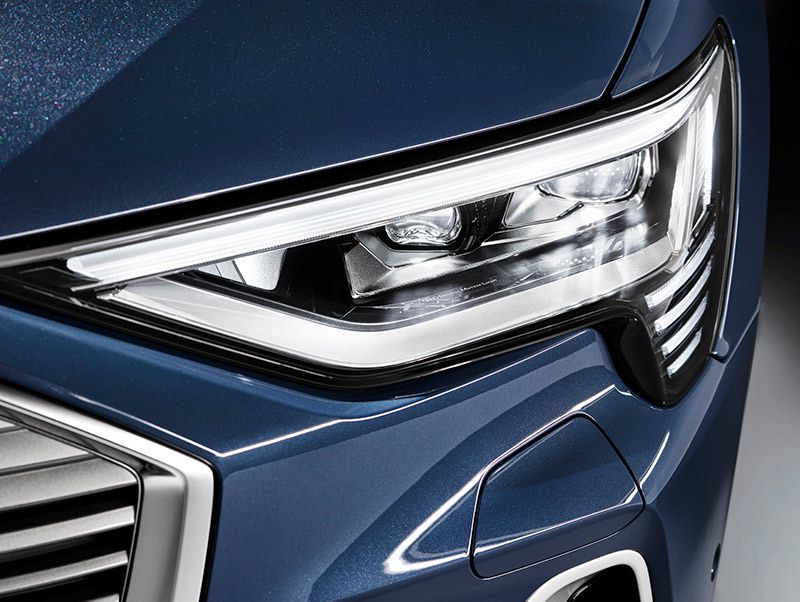
Photo by Audi